Hints and Tips Lee Garrett 01/10/2021 Hints and Tips Lee Garrett 01/10/2021 Use Your iPhone Keyboard Like a Boss Read More General Chat Lee Garrett 29/09/2021 General Chat Lee Garrett 29/09/2021 Why I Now Use Todoist Read More Links Lee Garrett 23/09/2021 Links Lee Garrett 23/09/2021 MyProductiveMac-ademy is Live! Read More Hints and Tips Lee Garrett 16/09/2021 Hints and Tips Lee Garrett 16/09/2021 Custom Searches in Alfred Read More Hints and Tips Lee Garrett 13/09/2021 Hints and Tips Lee Garrett 13/09/2021 Multitasking on iPadOS 15 - A Winner Read More Newer Posts Older Posts No results found
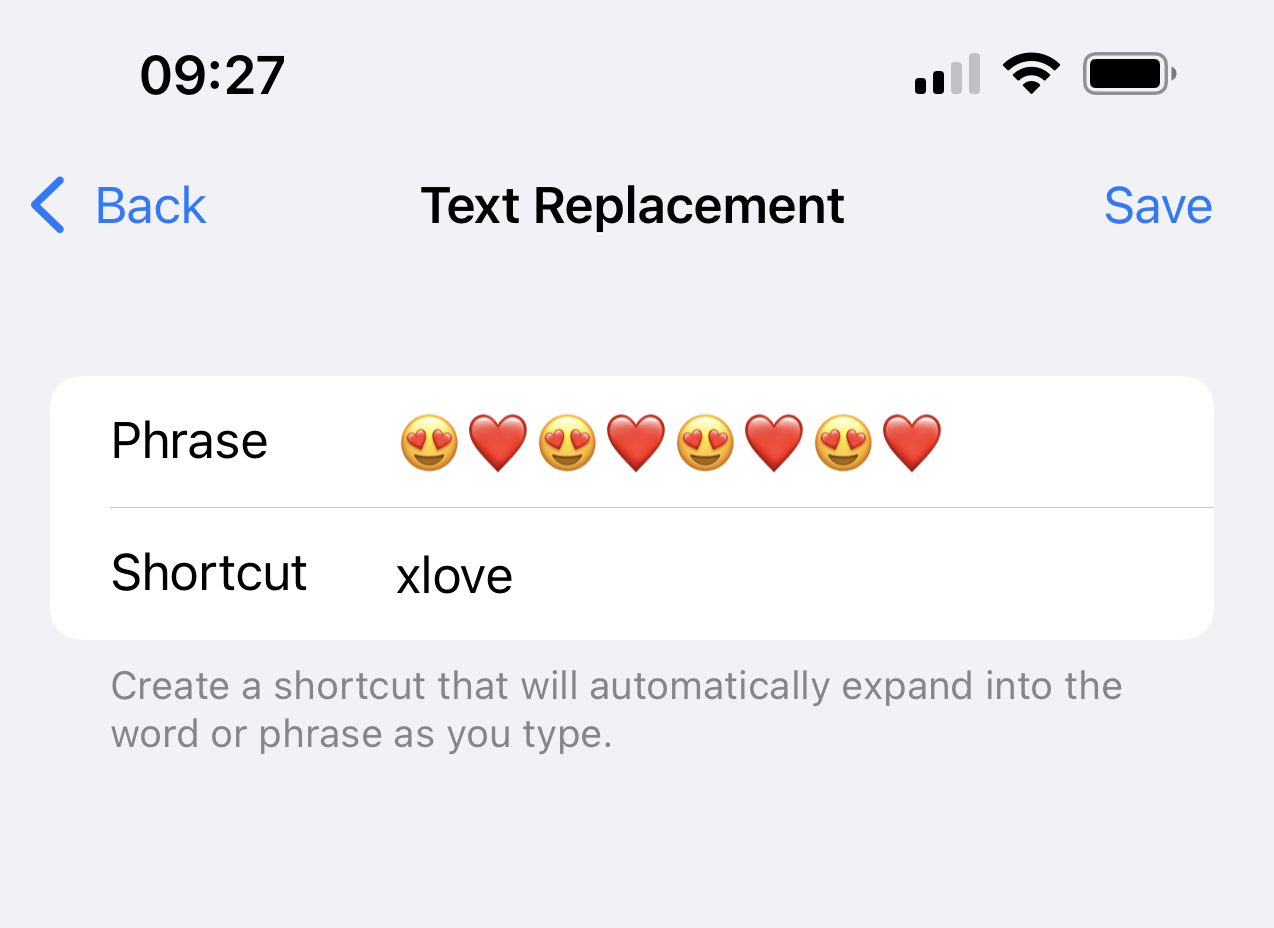
Hints and Tips Lee Garrett 01/10/2021 Hints and Tips Lee Garrett 01/10/2021 Use Your iPhone Keyboard Like a Boss Read More
General Chat Lee Garrett 29/09/2021 General Chat Lee Garrett 29/09/2021 Why I Now Use Todoist Read More
Hints and Tips Lee Garrett 16/09/2021 Hints and Tips Lee Garrett 16/09/2021 Custom Searches in Alfred Read More
Hints and Tips Lee Garrett 13/09/2021 Hints and Tips Lee Garrett 13/09/2021 Multitasking on iPadOS 15 - A Winner Read More